Technical verification guide
Do not treat a Sub-Zero alarm code as a universal parts chart
What does a Sub-Zero error code mean in San Rafael?
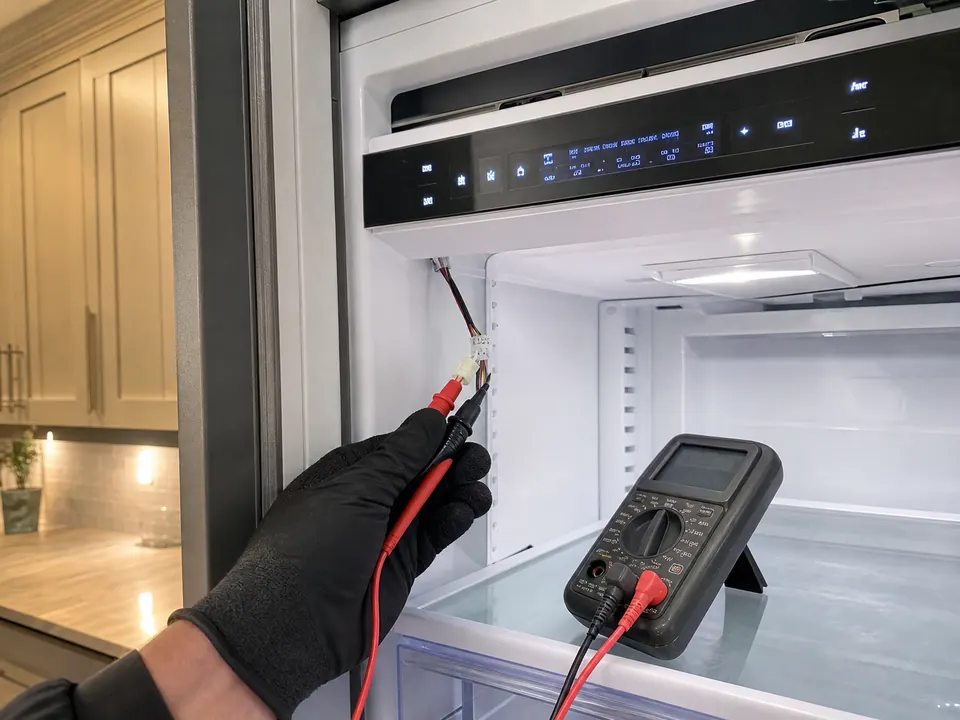
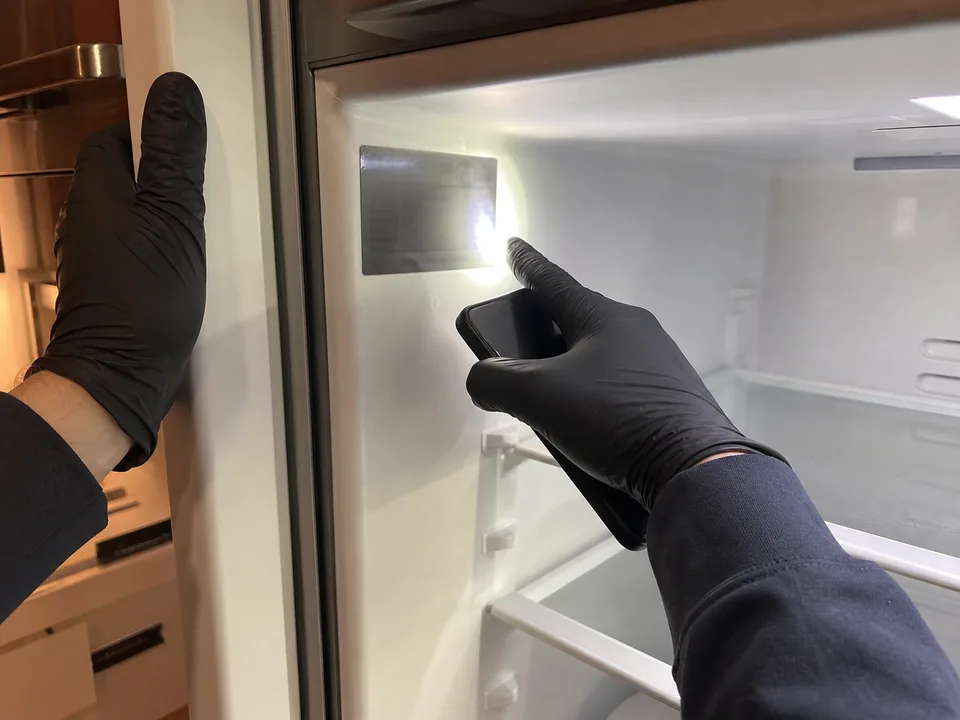
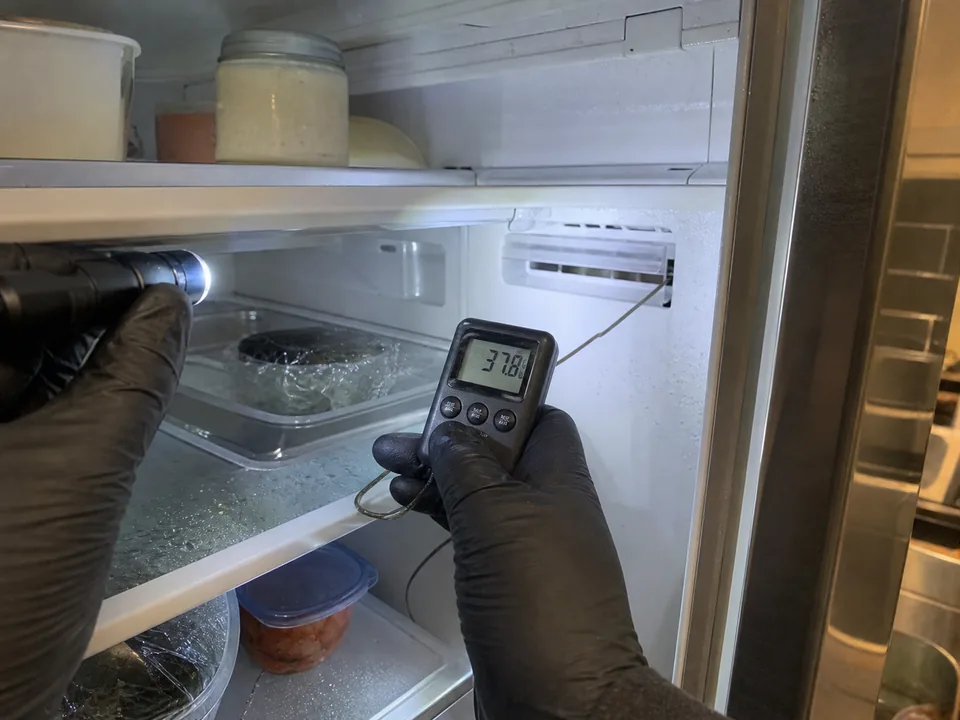
A flashing Sub-Zero code or alarm in a Sun Valley kitchen near 94901 narrows the fault but never decides it; San Rafael Sub-Zero Repair confirms the model-specific code against sensor resistance, harness continuity and an independent cabinet temperature before any part is named. Call (415) 683-1487 to book a code-reading visit.
A Sub-Zero on a Peacock Gap or Sun Valley call shows alarms by behavior, not a universal numeric chart: a flashing "Service" light, a "Vacuum Condenser" reminder, a door-ajar or over-temp alarm, or fresh-food-warm airflow. Each meaning is read by model and serial, then confirmed with sensor and temperature checks before any part is named.